Does your baby just cry during naps?? Don’t worry! Keep reading to find out the easy steps you can do to prevent your baby from crying so they can have an amazing nap!

It took me a while to finally master putting my baby down for naps. Make sure you don’t make the same mistakes I did! I’d love to share with you my tips and tricks to help your baby accomplish a successful nap.
Since this post is about what to do when your baby just cries during naps, I recommend you read “How to Start a Nap Schedule with Your Baby” first.
This way, you can get accustomed to the nap schedule that I am talking about in this post. If you have already read that post, great! Let’s talk about what to do when your baby just cries during naps.
If you’re baby just cries during naps don’t worry because there are things that you can do to help figure out why this is happening, how you can prevent it, and how to help your baby nap better. We’ll talk about all of these things!

To better help you if your baby just cries during naps, we’re going to discuss the following topics in my step by step guide:
- How to Put Your Baby Down for A Nap
- What to Do if Your Baby Just Cries During Naps
- How to Figure Out Why your Baby is Just Crying
- How to Prevent Your Baby from Just Crying During Naps
The Step by Step Guide to for What to Do When Your Baby Just Cries During Naps:
Step 1: Start a Nap Routine
How to Put your Baby Down for a Nap
Before we can access why your baby just cries during naps, its best to go over the routine to put your baby down for a nap. Most times, a baby is crying during naps because they either were not ready to sleep, they are used to falling asleep doing something else, or they are uncomfortable. (We’ll get more into how to prevent crying during naps in a minute.)
I find that most parents’ issue is resolved when they start an effective nap routine with their baby. This routine is done every time your baby goes down for a nap. In your nap schedule, you will be adding this routine before each nap. This nap routine can be used for babies of all ages (just tweaked a bit to accommodate their age).
So what does that routine look like?
Get My FREE Sample Nap Routine so you can start a nap routine that actually works!
This sample is a solid nap routine. Not only does this nap routine help my baby take a successful nap, but it also helped my baby start sleeping 8 hours through the night at 8 weeks old!
Keep in mind that it does NOT happen overnight, but it takes time for your routine to be established. That is why I recommend following a nap schedule so within that schedule at every nap time you are doing your same routine. After a week or so- you should see the benefits of the routine and your baby sleeping during naps consistently.

Step 2: Choose What to do When your baby is crying
It is VERY possible that after you complete this routine and put your baby down that they can begin to cry. Here are a couple of options that you have and techniques that I have personally used.
-
Option 1: Soothing Technique
If your baby starts to cry, offer them a soothing technique such as a pacifier or their favorite blanket. (Do not worry about them getting attached to something right away. Your goal at this point is to accomplish a nap- your next goal can be weaning them off of soothing technique when they are ready.)
A soothing technique is just to soothe them- it is NOT a sleeping prop. A sleep-prop is something that the baby cannot sleep without. There are some soothing techniques that can turn into a sleep prop- such as your baby will refuse to fall asleep without a pacifier.
At this point, if your baby is still young and a newborn, do not worry about your pacifier turning into a sleep prop. Take things one step at a time.
If you’re worried about sleep props, try to avoid your baby only napping in things that auto vibrate or auto swing. If your baby falls asleep in one that’s fine- but do not make it a part of their specific nap routine.

-
Option 2: Stay in the Baby’s Room but out of sight and sing or shush
I have done this a NUMBER of times. As soon as I put my daughter down to nap and she began to cry I would stay in the room out of sight and begin to sing softly. Sometimes I would sing and sometimes I would just do a soft shushing sound.
Your baby may just be so used to being with you that when they get put down to nap they instantly miss you being there and the comfort you bring. If they can hear your soft and quiet voice then it can calm them down and allow them to drift into sleep. You may have to do this a couple of times. (See bullet point below about how long to do the soothing technique.)
-
Combination of 1 and 2
You can certainly combine both options. If your baby begins to cry you can offer her a soothing technique and then remain in the room out of sight. If your baby continues to cry then offer him a soothing technique again. If your baby is still crying, then remain out of sight and start to quietly sing or shush.
Now, they should have their pacifier (or other soothing technique you choose) and will be hearing your voice. This should help them feel comforted enough to go to sleep.
Like I mentioned in Option 2, this may take a couple of cycles before your baby actually falls asleep. That’s ok, just remember it will get better after you begin to consistently implement the routine. Eventually, your baby will fall asleep and settle themselves.
If your baby is still starting to cry a couple of minutes after you leave, I suggest adding another minute to your waiting after each time you go in to soothe her. This way, your baby isn’t getting used to you going in there every 5 seconds.

-
Option 3: Figure Out What Is Wrong
After you have tried options 1 and 2 with no improvement, then it’s time to figure out exactly what is wrong and why your baby is just crying during naps. I would recommend trying soothing options first and if there is no improvement then it’s time to access a little further why this is happening.
Most of the time parents immediately jump to “Oh my gosh what is wrong with my baby?!” instead of giving the nap routine and the soothing options any time for there to be an improvement. But what we DON’T want is for your baby just to perpetually cry.
Unless you prefer the “cry it out method”, I would recommend trying to figure out what is preventing your baby from napping. This is Step 3.
-
How long do you let your baby cry until you do the soothing technique?
If my baby started to cry as soon as I put my daughter down to nap I would wait about 30 seconds to see if she settled herself. If she continued to cry, then I would use the soothing technique.
If she settled down and then started to cry again, I would wait another minute and then go in again to offer her the pacifier. If she started to cry again then I would wait 2 minutes until I went in. if she cried again then I would wait 4 minutes.
After every time, I would add 2 minutes of waiting so I could give her time to settle herself. You may have to do this a couple of times until your baby finally goes to sleep. That is the nature of the nap routine- it will get better with time.
The key is consistency! Also, do not soothe right away in a way that your baby now expects you to run to him every time he cries. The goal is for him to go to sleep, not expect you to come every time he cries.

Step 3: Figure out Why Your Baby Just Cries During Naps
Remember, if your baby is fully fed, has had activity time, is up to their nap in their daily schedule and is showing tired cues then your baby should be going to sleep.
If you already did steps 1 and 2 thoroughly then it’s time to start figuring out why your baby just cries during naps. Here are a few reasons why this could be happening. (Be sure to read them carefully and honestly access which reasons could be happening.)
-
Baby is used to being held or rocked to sleep in arms:
One main reason your baby is crying can be that they want to be picked up. I know this sounds super obvious but if your baby is used to be being picked up and being held to sleep then he isn’t going to be happy about the fact that he now has to sleep in his crib.
If you find yourself always rocking your baby to sleep then it could be a major contributing factor as to why she isn’t sleeping. She may be tired but can’t sleep without you holding her because that’s what she is USED to. Remember, babies thrive on schedules and routines so if this was part of their sleep routine then this is what they are used to.
-
Baby is used to being rocked to sleep:
Being rocked to sleep is different than being held and rocked to sleep. Some babies are used to being specifically in a rocker. Rockers can definitely turn into a sleep prop. Don’t get me wrong, I really loved our rocker. It was a safe place to put Baby L when she was a newborn and I had to get things done around the house or even just jump into the shower. Rockers can be great!
But rockers can also be dangerous. If your baby is just used to being in a rocker then they will have a hard time being in something else. Like anything, an excess of something can be dangerous. If you are only putting your baby in the rocker for everything all day then they will only be used to the rocker, especially when they sleep.
-
Baby is used to being in another sleeping area:
Sometimes your baby is used to being in another sleeping area or is not used to their crib. For example, if you have been co-sleeping or if your baby has been sleeping in a nestled bassinet then they might have a hard time transitioning to the spacious crib.
This can just be a transition adjustment. If you strengthen your nap routine and go through the soothing techniques, over time your baby will acclimate to their crib. See the steps above to help the transition go as smooth as possible.
-
Baby is still hungry:
As parents, sometimes we can overcomplicate things. If your baby is still just crying during naps then is quite possible that they are still hungry. If you haven’t read my post on “Knowing Your Baby’s Full Feeding Schedule- Accomplishing the Full Feeding” then I really recommend you check it out.
In short, when your baby has not had a full feeding (feeding to be full) it can disrupt their whole schedule including their sleep. I encourage you to read my full feeding post and access if this is what is happening with your baby.
If you find that THIS is the reason why your baby just cries during naps then the solution is easy- increase their feeding by your pediatricians recommended amount. All babies grow and develop at different rates so don’t be discouraged!

-
Baby is uncomfortable:
Always check to see if your baby is comfortable. I know it sounds really simple but in reality, it is! Double check your baby’s mattress, clothes, and the area where they are sleeping. Is it too cold? Too hot? Too humid? Too dry? Is your baby congested? DO they have gas? It can be anything! Just like us- we get uncomfortable, and so can your baby!
If your baby’s room is too dry then I would suggest a cool mist humidifier. It can help your baby breathe easier, sleep better, and help with dry skin as well.
If your baby is uncomfortable, try the swaddle! It can work miracles! Babies like to feel nestled and snuggled so this can be a lifesaver for when they sleep.
If your baby has gas, start to track what your baby is eating and figure out if something is making them gassy. If you are breastfeeding you may have to change your diet or eliminate something you are eating.
Make sure your baby is always going to sleep with a clean diaper, clean clothes, and remember to remove any tags and plastic from the clothes. You’d be surprised what can keep a baby up. Especially since they cannot properly communicate what they are feeling!
-
Baby has colic:
If you have tried all of these things and still are finding that your baby is crying at the same time every day for a long time then it is time to consider colic. Colic is diagnosed when the baby cries for more than 3 hours, more than 3 days a week, for more than 3 weeks. I know, no one ever wants to hear that their baby has colic!
Start to track when your baby cries and for how long. I recommend tracking everything your baby does the whole day. That way you get a better look at what times the crying begins. You can also track what they are eating and when and see if it has any correlation to the crying. If this is the case, talk to your pediatrician!
You may like these posts too!
>> There you have it!! The Step by Step Guide to helping your baby if she just cries during naps!
Remember, all of these steps take time and most of all dedication. It will be hard work some days, mostly for you, but keep pressing on and keep to those schedules and routines. After a couple of days and weeks, you WILL see the benefit and the positive results of your hard work.
Be sure to keep track of everything- your baby’s daily schedule, nap times, and feeding times. This will immensely help you! If you want to see what my baby’s daily schedule looks like check out my post “What my Baby’s Daily Schedule Looks Like”.
Keep in mind that the schedule will change as your baby grows!
Just because I am writing this post do not think by any means that I “have it all together”. I have learned these tips from A LOT of hard days and sleepless nights. I have tried a million things in trial and error and these are the things that have helped me get through the rough days and the naps where all Baby L did was cry. Do not lose your faith- do not give up!
Don’t forget to Get Your Free Nap Routine Now!
Have you had any success with these steps? Do you have any tips of your own? Feel free to share in the comments below!


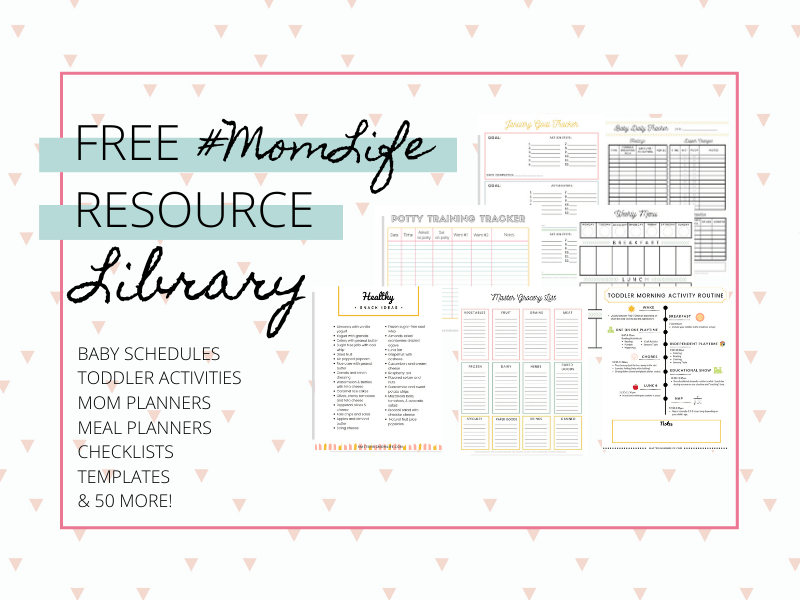
Wait! Do you love free printables??
Become part of the Mastering Mom Life Insider tribe and get instant, FREE, private access to my resource library filled with printables + worksheets to make mom life easier!