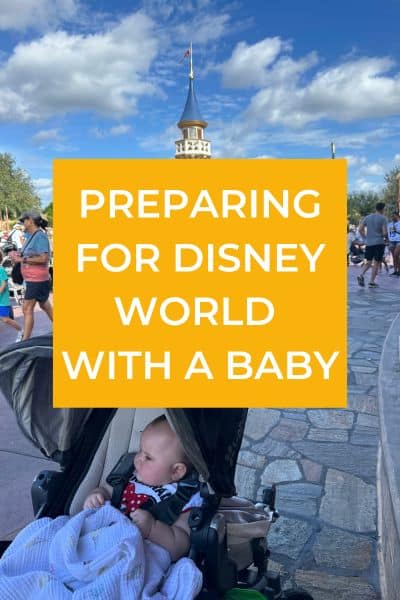
Inside: Need the best tips for preparing for a trip to Disney World with a baby? Find out all the best tips and tricks including when to visit, what to pack, baby care centers, best places for naps, and planning your day!
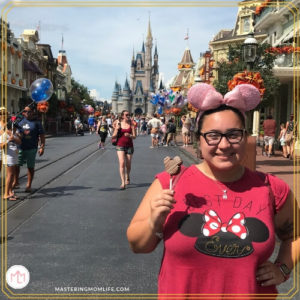
No age is too young for a trip to Disney World!
Visiting Disney World with a baby can be just as magical as it is for older kids—if you know the best tips on where to go and what to do! A day at Disney with a baby requires a bit of extra planning to make sure both you and your little one have a great time.
From baby-friendly rides to secret quiet spots for naps, I’ll help you make the most of your day at Disney with your little one.

While this post is geared towards babies aged 2 months to 18 months, it can also help with planning a day to Disney with toddlers!
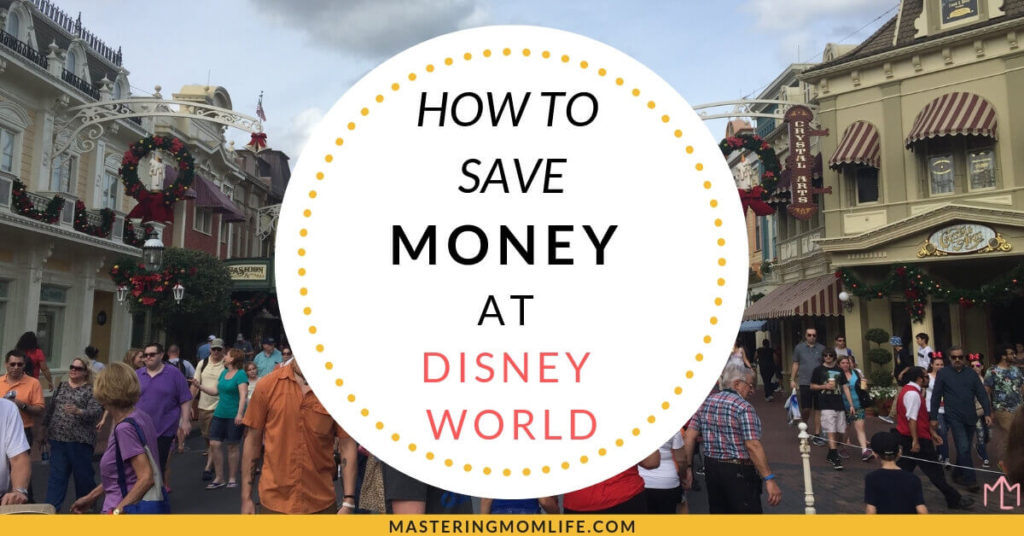
Best Tips for Preparing for a Trip to Disney World with a Baby
Let’s dive into exactly what you need to prepare for visiting Disney World with your baby.
📌 Pin for later! ⤵️ 📌

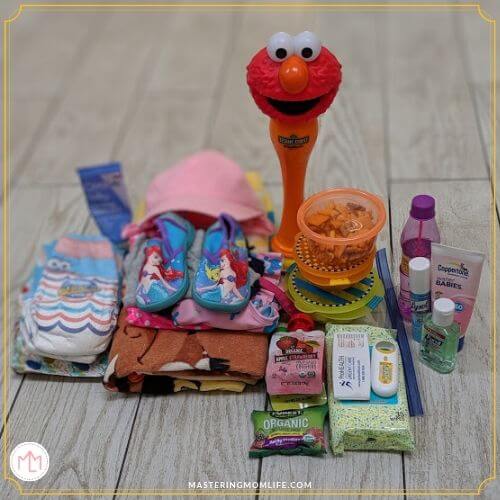
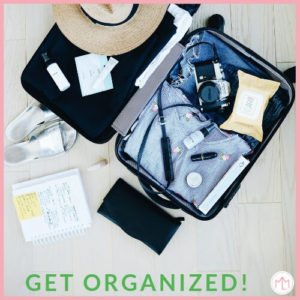
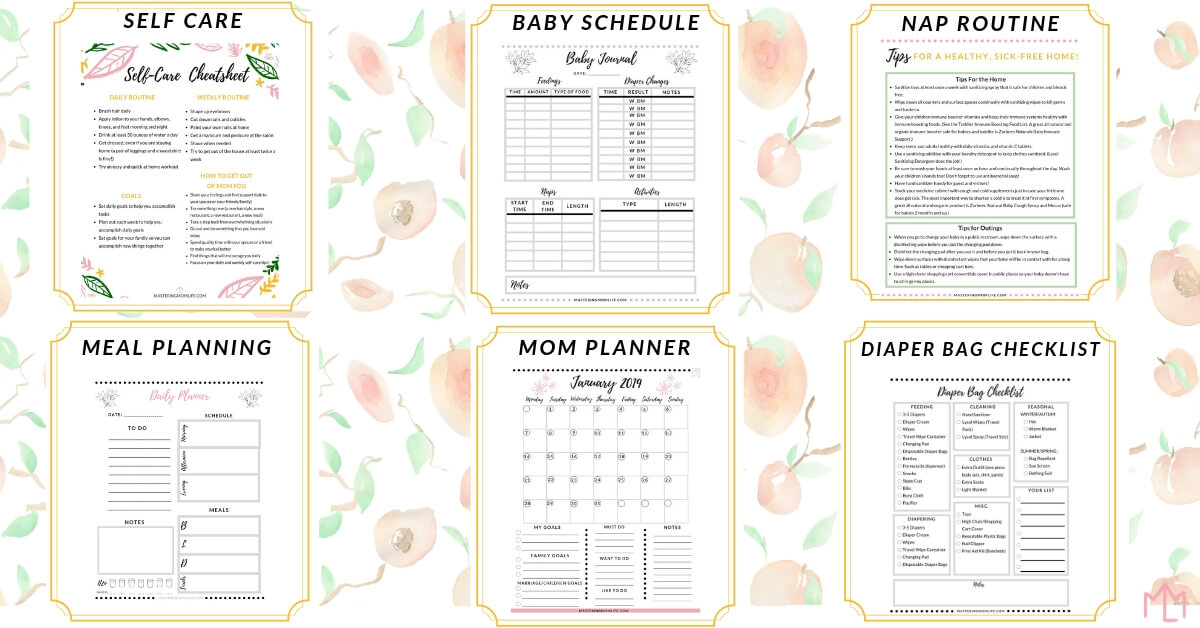
First things first, the best way to ensure a great day is to not only be prepared but FEEL prepared. And my favorite way to help me feel prepared is to make sure I have everything we need packed!
I like to pack a diaper bag with all the stuff on my list (grab my list below!) and then make sure I have a stroller big enough to fit everything comfortably.
This post contains affiliate links. Mastering Mom Life is a participant in the Amazon Services LLC Associates Program. As an Amazon Associate I earn from qualifying purchases. Please view Mastering Mom Life’s Terms, Disclosure & Disclaimer Policy and Privacy Policy. I wholeheartedly believe in all of the products I recommend and use them all!
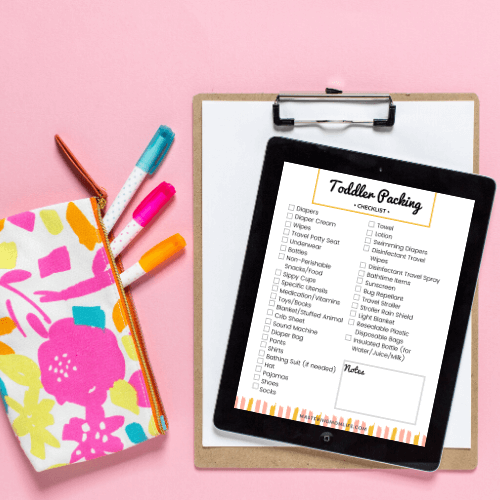
Park Bag and Diaper Bag List
Here’s a quick list of things I make sure to have:
Diaper bag: (I like to bring my diaper bag backpack so I can sling the bookbag on my back whenever we need to leave the stroller or park it)
Nursing gear: If you’re nursing while at Disney, I like to bring my nursing cover and muslin blanket for some privacy
Bottles: If your baby is taking bottles, be sure to bring all of the bottle parts. You can clean your bottles at the Baby Care Center located in each Disney park too!
Milk/Formula: If your little one is drinking expressed breastmilk or formula, always plan to bring a bit more with you to the park in case your baby has some extra feeds! You can also bring in a mini cooler bag for your milk to keep it cool during the day.
Pumping gear: If you’re pumping, you can also stop by the Disney Baby Care Center to pump inside of the designated nursing/pumping rooms. Don’t forget to bring all of your pump parts and breastmilk cooler bottle! (I absolutely love my Ceres Chill!!)

Extra Clothes: Your little one is going to need some extra outfits on hand in case of a spill, spit up or diaper blowout. Trust me, extra clothes will save you tons of headaches- and even save you money!
Weather items: If you’re visiting Disney’s Magic Kingdom during the Summer months, you’ll need a good stroller fan to keep your baby nice and cool.
If you’re visiting during the rainy season, you’ll need a stroller rain cover (and maybe even a poncho and or packable rain jacket). If you’re visiting during the Winter months, it can get cold during the evening so packing a small blanket can keep your baby warm.
For a full checklist of what to bring for your baby to Disney World- download my FREE checklist in the Disney World Planning Guide below!

Arrival Time and Planning Breaks
What are the best times to arrive at the park for a good experience?
Planning your park day can feel overwhelming but it’s always best to do what’s best for YOUR family! Does your family thrive when all the kids are rested and slept in? then maybe don’t plan for early morning park rope drops- and that’s okay! Maybe your kids do better with waking up later and staying up later.
Maybe your family are early birds and work best when they’re up early- then for sure plan to be at the parks at the opening!
You’ll hear a lot of Disney tips related to when’s the best time to go to Disney but know that the best thing you can do is follow your family’s instincts. You’ll be following your baby’s lead and helping to reduce those mid-day park meltdowns!
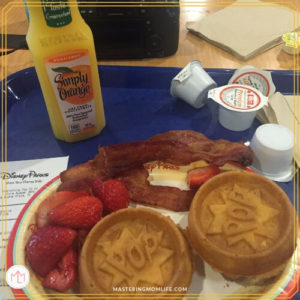
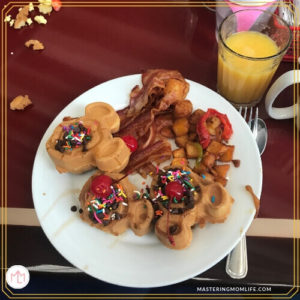
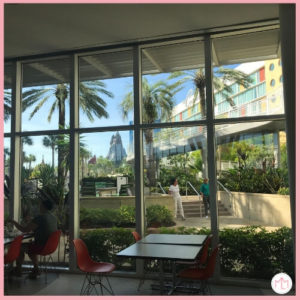
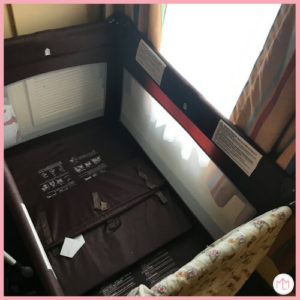
Plan for some extra breaks in your day to accommodate your baby’s nap times and feeding times. Use this time to sit down for a meal, take a break from the Florida heat, or hop on a dark ride that’s slow-moving and under-stimulating.
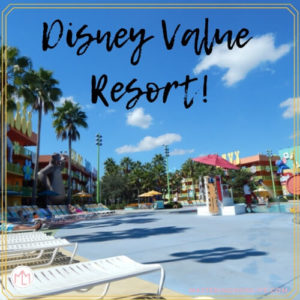
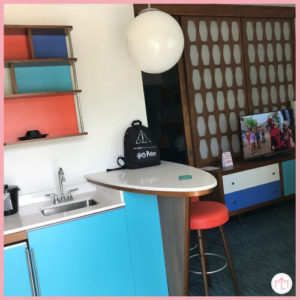
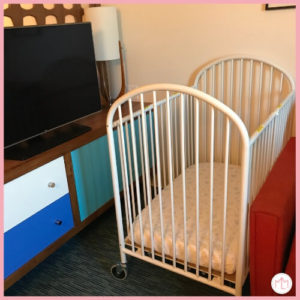
If you’re staying on-site at a Disney Resort, you can also take Disney’s free transportation back to your room for a mid-day nap break. This can also really help improve your mental health and family morale in the middle of a busy vacation!
If your goal is to visit Disney when it’s less crowded or in specific weather, you can work with a Disney travel planner and travel agent to help you plan the best season to visit the parks for lower crowds and easier park days.
📌 Pin for later! ⤵️ 📌

Baby Care Centers– Preparing for a trip to Disney World with a Baby
Baby Care Centers are facilities for diaper changes, nursing, and resting (usually located toward the front of the park).
Disney’s Baby Care Centers are nothing short of awesome! They are centers set up for parents specifically with babies and toddlers to help you get through your Disney day. These baby care centers have:
- Sinks to wash bottles,
- Bottle warming stations
- Cushioned changing tables with liners (that are not grossly located in the corner of overpopulated bathrooms!)
- Quiet nursing/pumping rooms with rocking chairs for moms
- A little TV area for toddlers to unwind (some have quiet activity rooms as well)
- A “store wall” to purchase things you may have forgotten such as pacifiers, bottles, nipples, diapers, wipes, baby clothes, bibs, water bottles, first aid supplies, and other baby-related products
- Cast member attendants to help you with whatever you need! (That extra hand can really come in handy when you’re juggling 3 bags and 2 kids and need to open doors- I know this from experience haha.)

Best Time of Year to go to Disney World with a Baby
Are there better times of the year to visit Disney World with a baby?
Disney World at any time of year can be an absolutely magical experience. But of course, there are better situations to make your days better at Disney with a baby!
If you’re looking for cooler weather:
- Avoiding the Summer months June-August would ensure you aren’t visiting during the super-hot Florida months.
- The best times to visit for cooler weather would be January, February, November, and December.
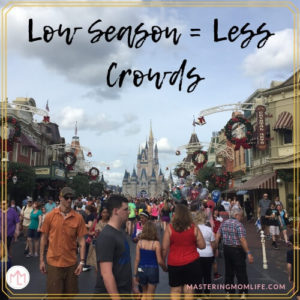
Looking for lower crowds, here are good times to visit:
- January (besides the first 10 days)
- The first 2 weeks of February
- Early May
- End of August
- September
- First 2 weeks of December

If you want to visit for special holiday events:
- Mickey’s Not so Scary Halloween party and Halloween decorations are from Mid-August through the end of October
- Mickey’s Very Merry Christmas Party and holiday decorations are the second week of November through the end of December.
Want the most budget-friendly (lowest cost) season to visit?
- January, August, and September have lower prices.
Want to find the best, cheap rates at Disney Resorts?
As an authorized Disney travel planner, I’ll help you find the best promotions and sales AND track the cheapest days, weeks, and months to travel so you can save the most money.
Receive a FREE quote so you can start planning a magical Disney vacation…stress-free!
Click here for free Disney vacation help!
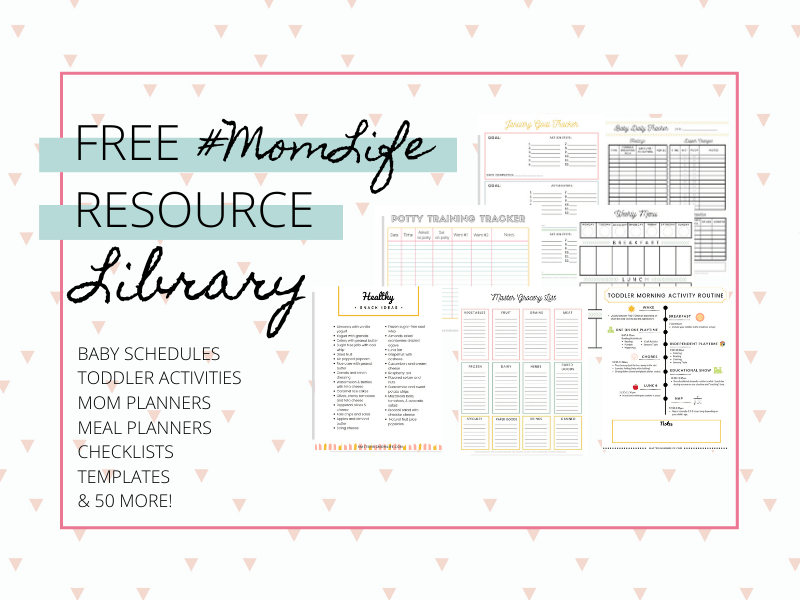
Grab your Free Download!
Don’t forget to grab your free instant download of my Disney World Planning Guide! This 10 page guide includes packing lists, planning steps, and the best tips to help you plan a stress-free, magical vacation.
Recap: Preparing for a trip to Disney World with a Baby
Now you’re all ready for your trip! Remember, be flexible, follow your baby’s cues, and have fun.
Preparing for a trip to Disney World with a baby doesn’t have to be impossible! Hopefully, these tips will help you feel prepared and ready to make magical memories.

Need help planning a trip to Disney World with a baby?
One of the best vacation decisions you can make is to use an authorized Disney vacation planner!

As a certified Travel Agent and authorized Disney Vacation Planner specializing in Disney vacations with kids, I can help you plan the most stress-free vacation while finding you the best prices for the dream vacation you have in mind!
What do you get with a Disney Vacation Planner?
- Personalized vacation help and itinerary planning
- Price monitoring so you receive the lowest price
- Crowd Calendar and Seasonal Pricing to know the best time to book
- Help with park reservations and dining reservations
- Client folder sent to you with park maps and tips prior to departure
- Any modifications and changes to your vacation
- On-vacation assistance for any questions
All for FREE!
Interested in Disney vacation planning help?